This is an old revision of the document!
UAV Lesson 3
Lesson 3 is the first hands on experience students will have actually flying the multirotor. For this lesson they will be limited to the stabilize mode, throttle, pitch, and roll.
\\ Setting up Mission Planner Flight Modes
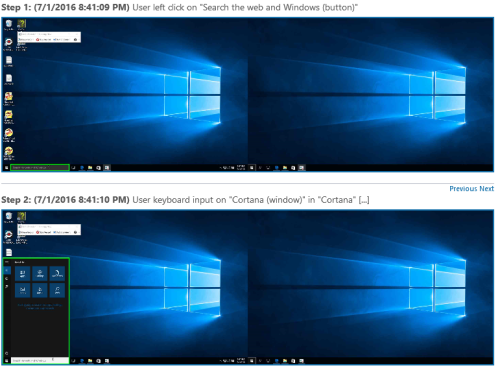
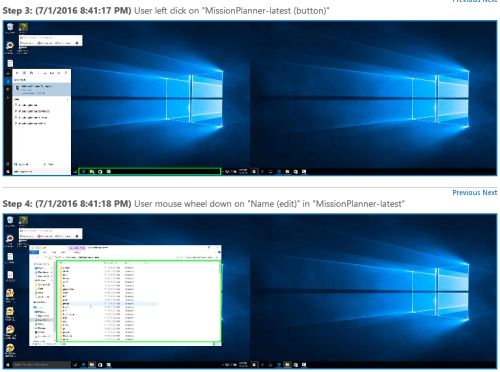

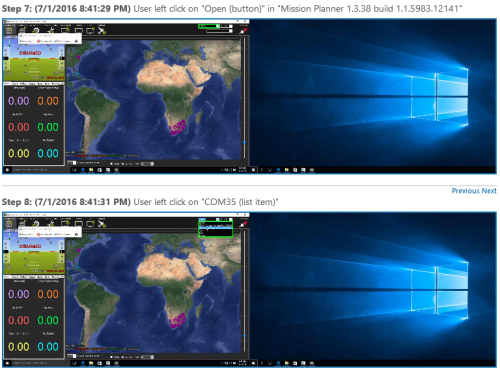
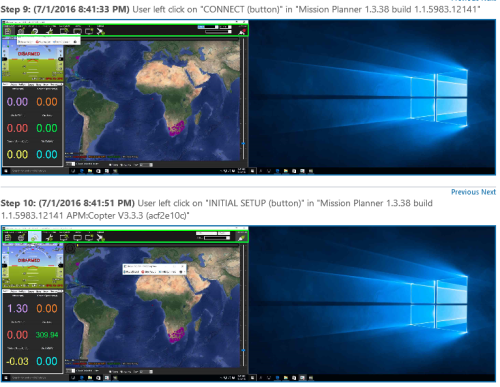
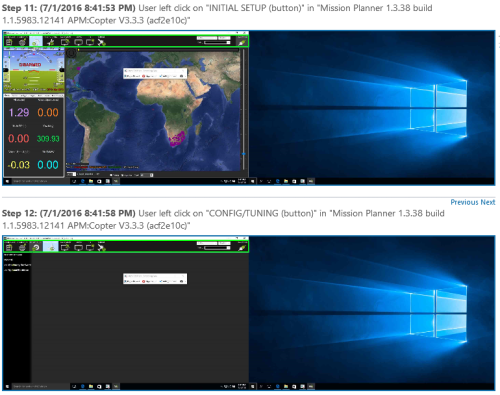
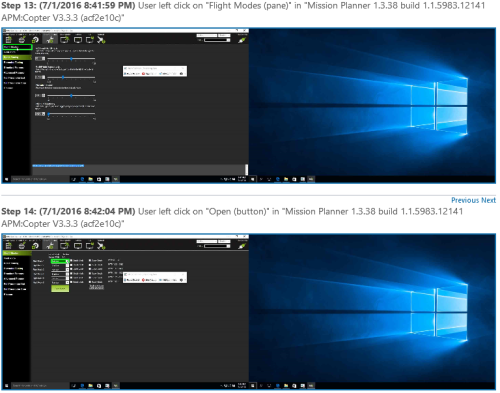
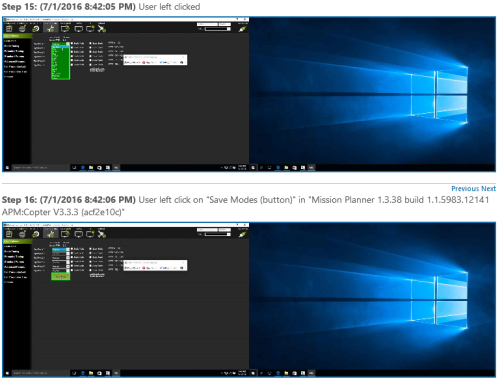
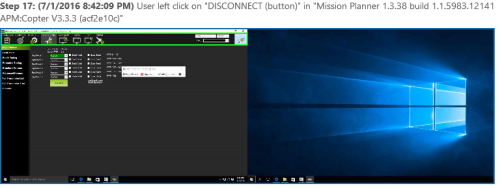
For this lesson we will set all flight modes to stabilize to prevent accidentally changing flight modes mid flight. To do this launch Mission Planner with your multirotor connected to the computer.
For this step you will be using throttle to maintain altitude and the right stick pitch and roll to control
flight direction. Keep your flight altitude to under 10 feet and your forward and side flight distance to
approximately 40 feet. This is start developing the feel of the sticks and multirotor reactions. The
Stailized Flight Mode provides auto-leveling of the multirotor while in flight. Stabilized Mode may
require some tuning of its parameters. More information on Stabilized Mode can be found here:
http://ardupilot.org/copter/docs/stabilize-mode.html#stabilize- mode
1. Place the multirotor on the ground, facing forward, step back a safe distance facing the same way.
2. Place the FC in Stabilized mode
3. Arm and advance throttle, lifting off to approximately 3 to 6 feet in altitude
4. Slowly fly forward 10 to 20 feet then stop the forward movement, adjust throttle to maintain altitude.
5. Slowly fly backwards towards the starting position and stop
6. Slowly fly sideways to the right and left, while keeping the multirotor facing forward
7. Repeat this process until you can comfortably maintain the forward orientation and height while
moving the multirotor forward, back, and to the sides.
Homework: Spend 20-30 minutes each day practicing the maneuvers learned in class.
