
Table of Contents
How to Build a Road Case
Author: Ethan Nowery Email: nowery@unlv.nevada.edu
Date: Last Modified on 04/05/24
Keywords: DASLHub, Tutorials, Road Case, KAIROS

This tutorial serves as a step-by-step basis for building your own road case. The durability and strength of the road case materials makes them extremely useful for protecting sensitive equipment while in transit. Road cases also serve as a means of storage and organization for various tools/ instruments that are needed for a single project.
Road cases can either be bought from a store or built by yourself. The advantages of building one for yourself is 1) the price is a lot cheaper, and 2) the customizability of just about every aspect of the case. That includes the size, shape, strength, finish, handles, latches, etc.
Knowledge Required
1. Basic tool knowledge and comfortability.
2. The objects that need to be stored in the case and how you want them arranged.
Options for Creativity
Some variables that you can customize with your own road case are:
- Strength - Thicker wood for the walls will provide more strength. Usually, 1/4“-1/5” wood is used. I went with 3/8“ OSB
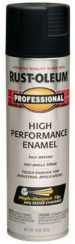
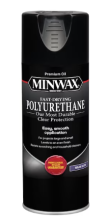
- Finish - Laminate is a common finish used with road cases; however, this is very expensive. Instead I used a black colored enamel and then a high performance polyurethane to protect the outside.
- Accessories - There are latches and handles that come mounted to a back plate already. If you get those, you will have to cut holes in the wood to set those in.
Materials Needed
Note that this section will vary with the design of your own road case. From here on, everything is in reference to my own road case.
1. Plywood or OSB particle board,
2. Drill and drill bits (size depends on size of rivets to be used),
3. Rivets and riveter (pneumatic or hand riveter),
4. Finish (on my case this was the enamel and polyurethane),
5. Saw with blade capable of cutting through aluminum,
6. Aluminum Extrusion,
7. Tongue and Groove extrusion,
8. Ball Corners,
9. Choice of handles, latches, and other accessories.
You can buy most of the road case specific supplies, like the aluminum extrusions, ball corners, handles, latches, etc., online from various places. I bought mine from «https://www.diyroadcasesstore.com/»
Getting Started
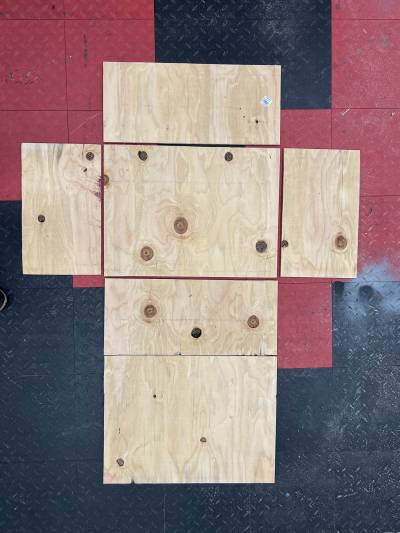
Step 1: Cut the wood
Get the dimensions of the box that you want. Cut your wood down to the size that you need.
Step 2: Spray the Wood with Protectant
If you have laminated wood, skip this step. If you went the same route as me, follow the instructions on the cans to apply the enamel and polyurethane (in that order)
Step 3: Cut Extrusions
Next, measure out the aluminum extrusions for all edges of the box. Start to measure the edges from an inch inside all corners. This will leave your extrusions 2 inches shorter than their edges.
Using a miter saw, cut the extrusions to your measured length. Make it easier on yourself, do not cut the ends of the extrusions into 45 degree angles and try to fit them together at the corners. Cut them shorter than the length of the edge and you'll leave the corner exposed. This exposure will be covered up with the ball corners
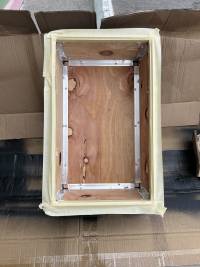
Step 4: Drill Holes and Rivet
After lining up the extrusions with the wood. Drill holes through the extrusion and wood at even intervals using a 3/16” drill bit. Next, put the 3/16“ rivets into the holes, with the nail part sticking towards the outside of the case. Rivet them down to attach the extrusions to the wood. NOTE, if you have a case with multiple parts, like a lid, make sure to leave the edges that connect the two bare for now. We will attach tongue and groove extrusions to that later. To remove a rivet, use the same drill bit used to drill the initial hole and drill out the rivet
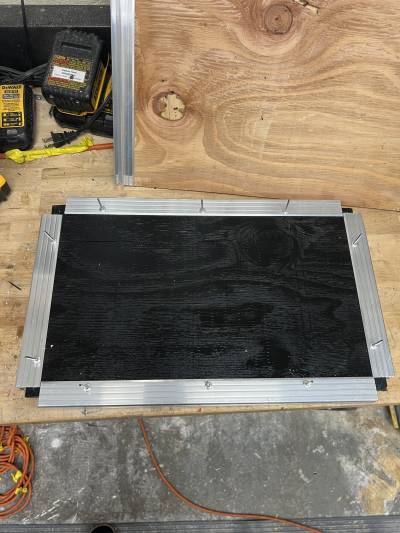
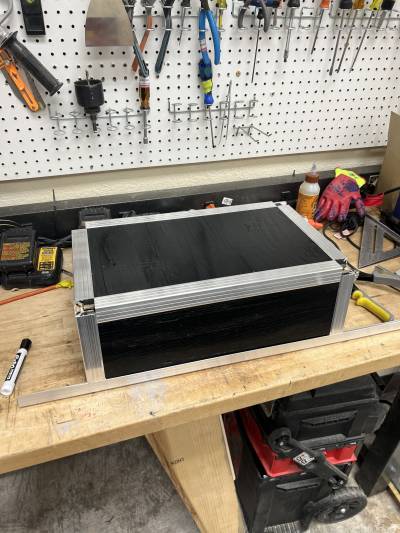
Step 5: Attach Ball Corners
After the extrusions are all attached at a corner, cover the corner with the ball corners and attach those to the box using the same method as Step 4. Repeat this step if you have a case like mine that has a lid or multiple parts
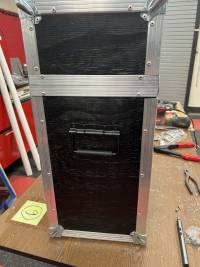
Step 6: Tongue and Groove Extrusion
After all of your parts are built with their extrusions and ball corners attached. The edges that connect the two should be bare. We will attach the tongue and groove extrusions to these edges. Choose either the lid or bottom to have the tongue and the other part to have the groove extrusions (sides don't really matter, this is just preference). Cut these extrusions to the length of the edges that they will be attached to. Cut the end into 45 degree angles to get a nice 90 degree fit when done.
Step 7: Attach Accessories
Accessories include latches, handles, and other components that are specific to your design. For mine, I just needed to attach the latches and handles.
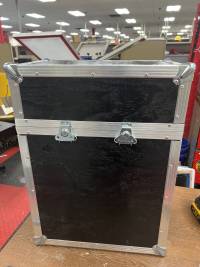
Step 8: Inside
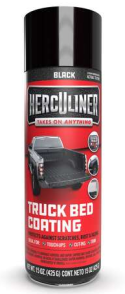
This is another customizable aspect of the roadcase. Some interiors have felt, while some others have a plastic type lining. Also, inside the case you can add compartments, hooks, baskets, etc. For the lining of my roadcase, I used this truck bed liner spray.
Tape off the edges of your road case and apply the liner of choice, following the instructions.
Conclusion
The goal of this tutorial was to give a step-by-step account of building a customizable road case. At this point, the reader should have the proper knowledge and vision to build their own road case.
For questions or clarifications, Email: nowery@unlv.nevada.edu