This is an old revision of the document!
Table of Contents
HDT MK2 Joystick Control
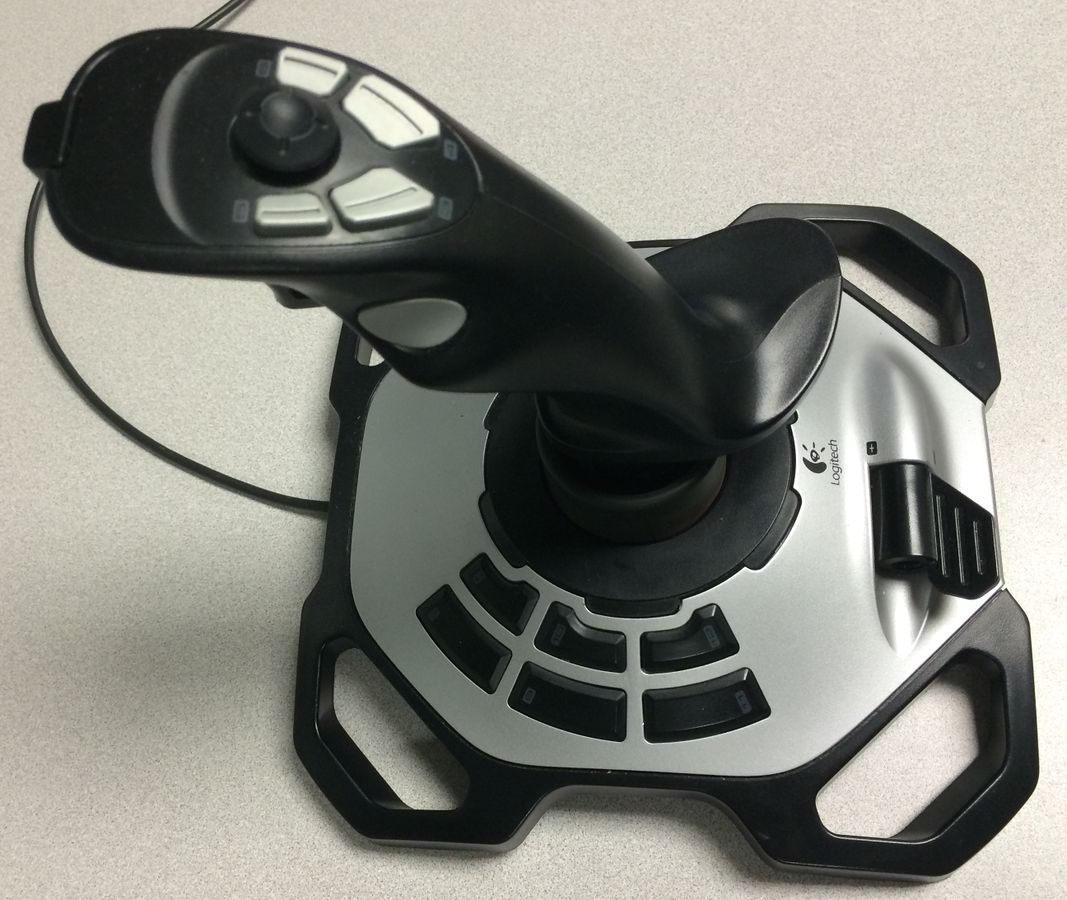
This is a tutorial how to operate the HDT arm using joystick. The HDT arm operating program is working in the computer system which is base on the Linux operating therefore, before following this tutorial, It is very helpful to be familiar with Linux operation if the user has no experience with Linux.
How to operating for HDT arm with joystick controller
Step 1.
Make sure the workspace of the arm is clear.
Step 2.
Step 3.
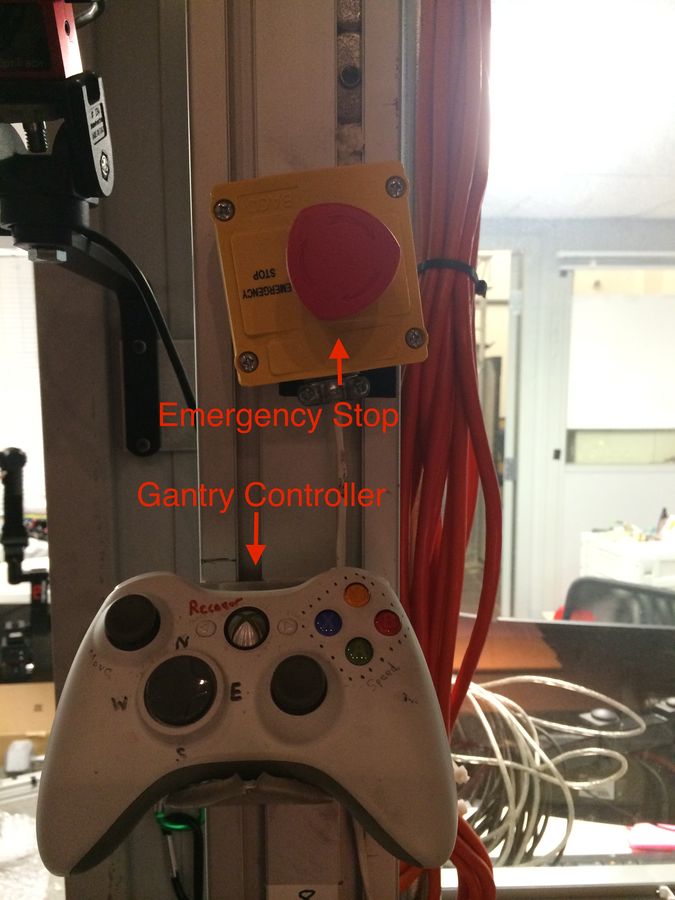
Check the emergency stop is pull out on gantry control box (left top corner -see step2 Pic-)
and also check another emergency stop which attach on the gantry framework that beside to the door is pulled out.

Step 4.
Log onto computer and open up Teamviewer which is a software to remote control the other computer.
Step 5.
Step 6.
Step 7.
Hit the “Power UP” button on the top of left corner in the online Hubo: Gantry Control Box.
(If the Gantry control box is not opened, Double click the “GantryGUI” file to run control box)

Step 8.
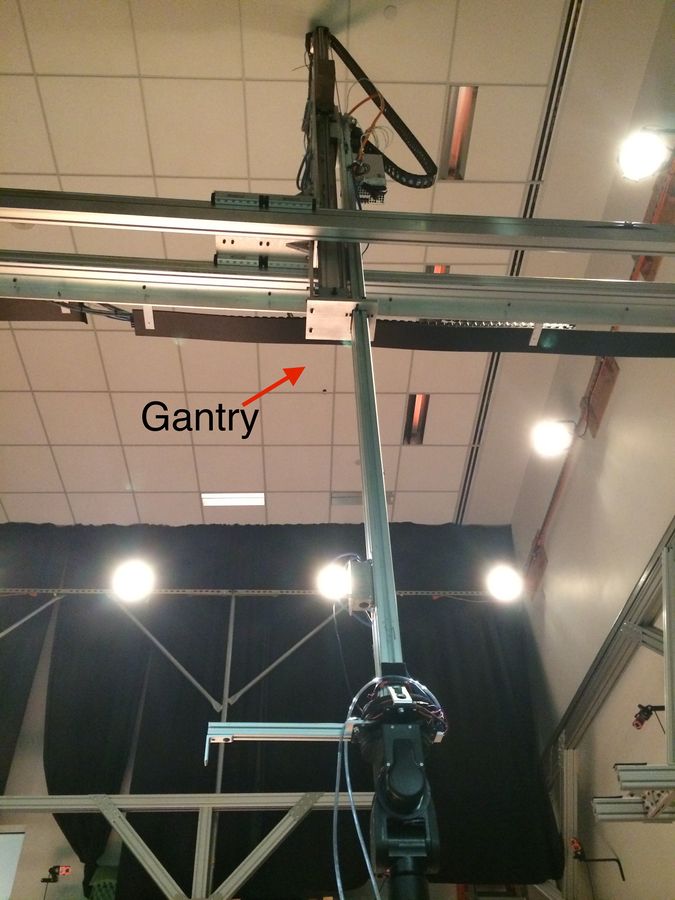
Move the gantry with Xbox controller to desired location.
(Before moving the arm Gantry, Make sure that the work space is clear)

Step 9.
Before the running the RVIZ that is software for control the HDT arm by joystick, Make sure that the “ROS” environment is setting up correctly.
- ROS environment setting steps.
- Open terminal.
- Type “gedit .bashrc” and hit Enter.
- Once open it up, gsource /home/dasl/rosbuild_ws/setup.bash
- this part which is placed in the “uncomment for Groovy” box which is made by “#“ should be uncomment by deleting the ”#“ If it is placed in front of it then save and close it.(If the ”#“ is not placed in front of it just close because it was already set up)
Type “roslaunch mk2_controller mk2_joy.launch” in terminal and hit enter.
Step 10.
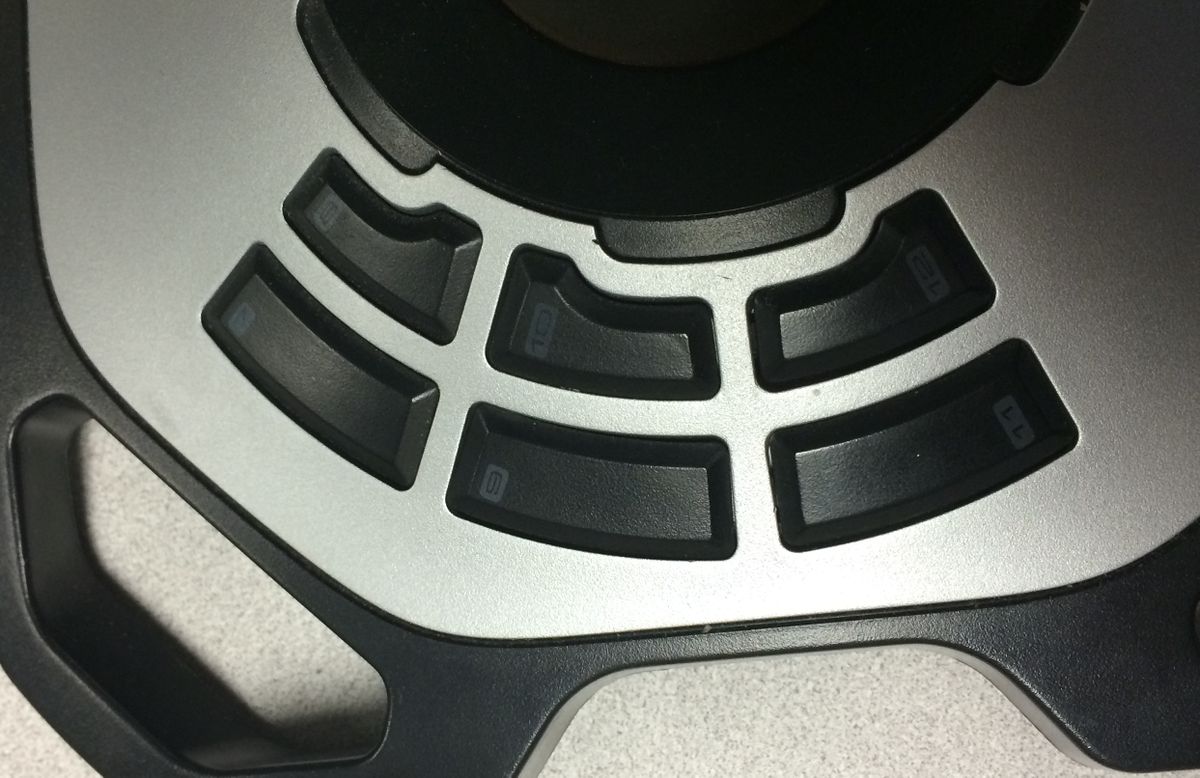
Now, the arm is ready to move by joystick controller. The arm joint will be moved by joystick and fingers will be moved by the buttons.
- The Buttons
- 8 = Open thumb fingers
- 9 = All stop
- 10 = Close thumb fingers
- 11 = All home(zero position)
- 12 = Move thumb - “yaw 90”
Step 11.
When the work is done, First turn off the RVIZ program in terminal(Ctrl+C) then close the terminal and then gantry should be re-placed where it was very first position before move and then hit all emergency stop buttons and finally turn off the power which on the gantry controller box(labeled “Hubo”).
How to run a motion planning file for the HDT arm.
Step 1.
Open up a terminal and type the “roslaunch mk2_moveit_config moveit_planning_execution.launch” for launching
and wait until the text which belongs to “Planning Library” changes from red to green.
(Assume that the ROS environment is set up correctly, if the command is not working properly see 1.9step 9 above and fulfill it.)

Step 2.
Open up a new terminal and type the “roslaunch mk2_controller move_mk2_ik.launch”. Once this is launched the arm will begin to move back and forth as shown above picture in the Moveit planner. The user can see the arm moving as well as the arm in RVIZ moving back and forth. (Note: The orange arm in the moveit planner is the desired position while the white arm is the current position.)
Step 3.
To making stop the motion, it is simple.
Press the keyboard '“Ctrl+C”' in terminal if do so, the program will be closed.
Step 4.
If a user would like to change the motion, in terminal which open in the step 2, the folder should be changed to the
”~/rosbuild_ws/dasl_ros_pkg/dasl_controllers/mk2_controller/nodes” and in that folder, launch the file by type “move_mk2_lk.py”.
If the file is open correctly, it seems like the picture which is attached in this section.

Step 5.
To change the positioning simply change the parameters in the “#Goto position 1”. If a user would like to have more than one desired position than add another under it (ie goto position 2, etc).
Step 6.
If the new positions which a user created is ready to launch, follow the step 1 and 2 again.


