Table of Contents
Using ROS to read data from a Hokuyo scanning laser rangefinder
Author: Blake Hament Email: [email protected]
Date: Last modified on 09/13/2016
Keywords: Hokuyo, ROS, Laser Rangefinder, Scan
This Tutorial covers installation of ROS Indigo on an Ubuntu 14.04 (Trusty Tahr) system and the steps necessary for streaming and reading data from a Hokuyo URG-04LX scanning laser rangefinder (I also tested a UTM-30LX-01). Hokuyo sensors are popular vision sensors for mobile robots because they are lightweight and low on power consumption. The Hokuyo is a 2D scanner, but it can be mounted on a rotating platform for “fanning” of the 2D scan to achieve a 3D scan.
The following is based on my experiences and information from http://wiki.ros.org/indigo/Installation/Ubuntu, http://wiki.ros.org/hokuyo_node/Tutorials/UsingTheHokuyoNode, https://defendtheplanet.net/2014/11/04/step-step-guide-working-ros-indigo-ubuntu-14-04-laptoppc/, and https://en.wikipedia.org/wiki/Laser_rangefinder.
Motivation and Audience
The Hokuyo sensors are excellent options for SLAM, sense-and-avoid, and other vision applications for mobile robots. ROS is a robust robot operating system with easily integrated nodes for controlling a variety of sensors and motors. This tutorial will walk you through installation of ROS Indigo, connecting the Hokuyo sensor, and reading data from the sensor.
This tutorial is for those with:
- Some Linux bash programming experience
- Interest in robotics and scanning laser range-finding
The rest of the tutorial is organized as follows:
- Parts List and Sources
- Theory of Operation
- Programming
- Final Words
Parts List and Sources
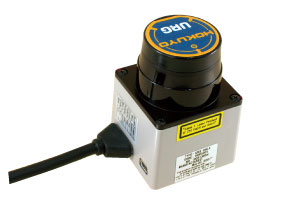
Hokuyo makes several laser rangefinders, and this tutorial should be applicable to all of them. I am using the Hokuyo URG-04LX Scanning Laser Range Finder which is preferred for indoor applications (https://www.hokuyo-aut.jp/02sensor/07scanner/urg_04lx.html). I also tested the Hokuyo UTM-30LX-01, which is preferred for outdoor applications. All steps in this tutorial are the same for these sensors. In addition to the Hokuyo, we need a computer to read data. This tutorial describes the procedure for reading data using ROS on a Linux machine. I use ROS Indigo and Ubuntu 14.04, but the steps will be similar for other distributions. If you do not have Ubuntu 14.04 installed, follow this tutorial to do so http://howtoubuntu.org/how-to-install-ubuntu-14-04-trusty-tahr
NOTE: Do not use an Ubuntu virtual machine to read Hokuyo data. I have tried several virtual machine configurations, and in each case the Hokuyo successfully connects but data is lost when it is streamed through the host machine to the virtual machine.
Theory of Operation
Laser rangefinding works by detecting phase change in light reflected off a target. The sensor sends out light at a known wavelength and then reads the reflected light after it has traveled out to the environment and back to the sensor. Any shifts in the peaks and troughs can be used to calculate phase change.
The distance D between sensor and target can be written,
Where c is the speed of light and t is the time it takes the light to travel from sensor to target and back.
The time t can be expanded
Here, ω is the angular frequency of the light wave, and φ is the phase change between the initial and reflected light rays.
We can expand our equation for D further, substituting the frequency of light f = ω/(4π), then substituting wavelength λ = c/f . Light is a wave, so values repeat every period. Accounting for sign changes, phase changes can be described as (N + ΔN) in which N is an integer number of wave half-cycles and ΔN is the remaining fractional part of the phase change.
Using the above method, the Hokuyo calculates the phase delay of reflected light and outputs a distance.
Programming
The first step is to install and configure ROS. ROS is a popular Robot operating system for Linux machines. At the time I am writing this tutorial, there are several dependency issues with using the newest distributions of ROS and Ubuntu with the Hokuyo URG-04LX. For this reason, I am using Ubuntu 14.04 (Trusty Tahr) and ROS Indigo.
1. Install ROS Indigo
The following commands set up your computer to accept packages from packages.ros.org and get the correct key for download, respectively.
sudo sh -c 'echo "deb http://packages.ros.org/ros/ubuntu trusty main" > /etc/apt/sources.list.d/ros-latest.list'
wget https://raw.githubusercontent.com/ros/rosdistro/master/ros.key -O - | sudo apt-key add -
Next we make sure Linux is updated and install the full version of ROS.
sudo apt-get update
sudo apt-get install ros-indigo-desktop-full
2. Configure ROS
rosdep is used to install dependencies and run several core components. Let’s initialize and update.
sudo rosdep init
rosdep update
Next, we want to configure our bash shell so that ROS environment variables are automatically added.
echo "source /opt/ros/indigo/setup.bash" >> ~/.bashrc
source ~/.bashrc
Finally, we will install rosinstall which helps by installing multiple source trees with a single command.
sudo apt-get install python-rosinstall
3. Install Hokuyo Node
ROS communicates with different sensors and motors through nodes. To download the hokuyo node, enter
Sudo apt-get install ros-indigo-hokuyo-node
Plug in your hokuyo to the usb drive. At this point, you may be ready to go, but first let’s confirm that the Hokuyo is properly connected and configured.
Check permissions with
ls -l /dev/ttyACM0
Your output should be in the form:
crw-rw-XX- 1 root dialout 166, 0 2016-09-12 14:18 /dev/ttyACM0
If XX is rw, then the laser is configured properly. If XX is –, then the laser is not configured properly and you need to change permissions like so
sudo chmod a+rw /dev/ttyACM0
4. Read data from Hokuyo sensor
At this point your Hokuyo sensor should be plugged into the usb port. To start ROS, enter
roscore
And then
rosrun hokuyo_node hokuyo_node
You should see the messages: “Connected to device” and shortly afterwards “Streaming data”. If you do not see these messages, check that the Hokuyo is being detected by your cpu by entering
lsusb -v
If you don’t see the Hokuyo listed anywhere, you may have a hardware issue.
Try using the following command to set the default port for the node.
rosparam set hokuyo_node/port /dev/ttyACM0
ROS uses “topics” to send and receive data between nodes. “Publishers” send data to a specific topic, and “subscribers” read the data published to a specific topic. In our case, the Hokuyo node will publish scan data to the /scan topic, and other nodes will subscribe to /scan to use that data for visualization or controls.
To check that the Hokuyo is publishing to /scan. Use
rostopic list
All active topics will be listed, check that /scan is present.
Next, check the messages being published to /scan by using
rostopic echo /scan
5. Visualize data
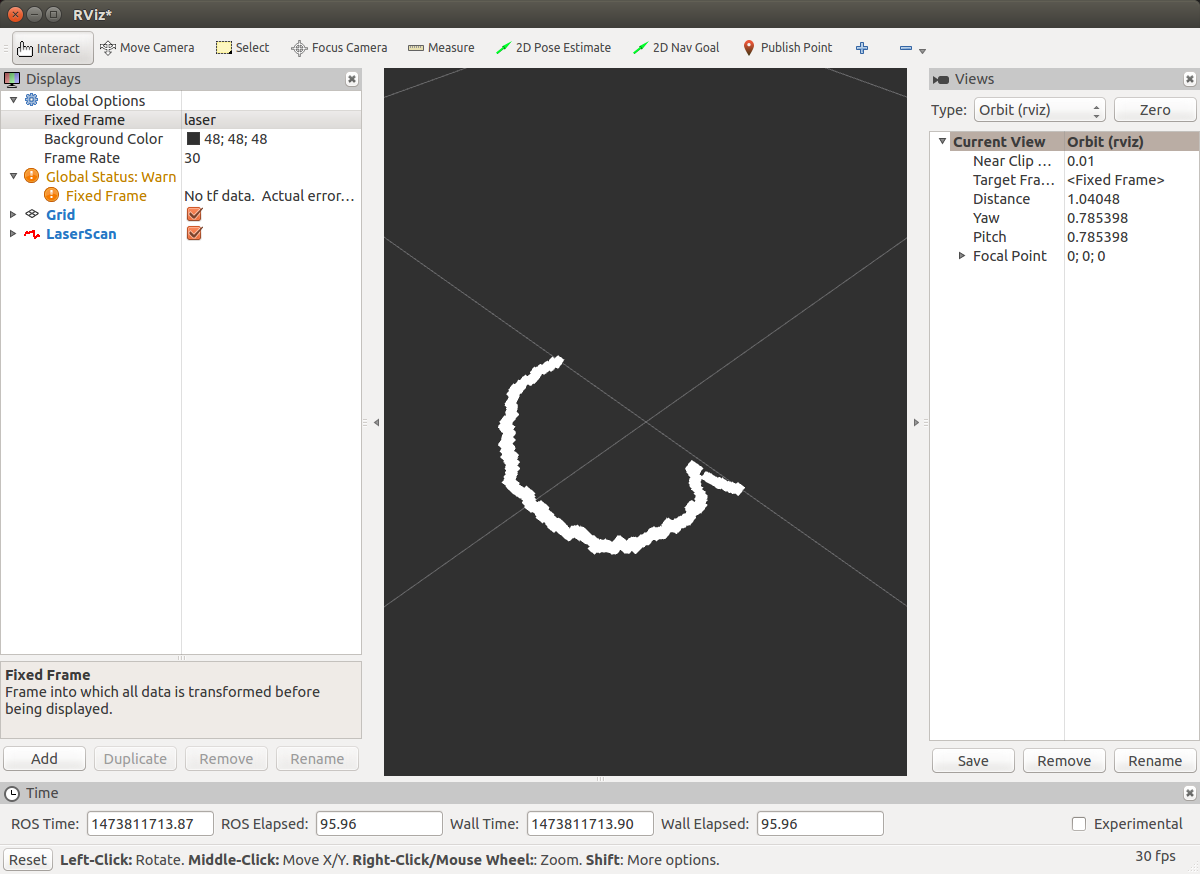
Hopefully you are now successfully streaming data from the Hokuyo. The final step in this tutorial is to visualize this data using rviz.
rosrun rviz rviz
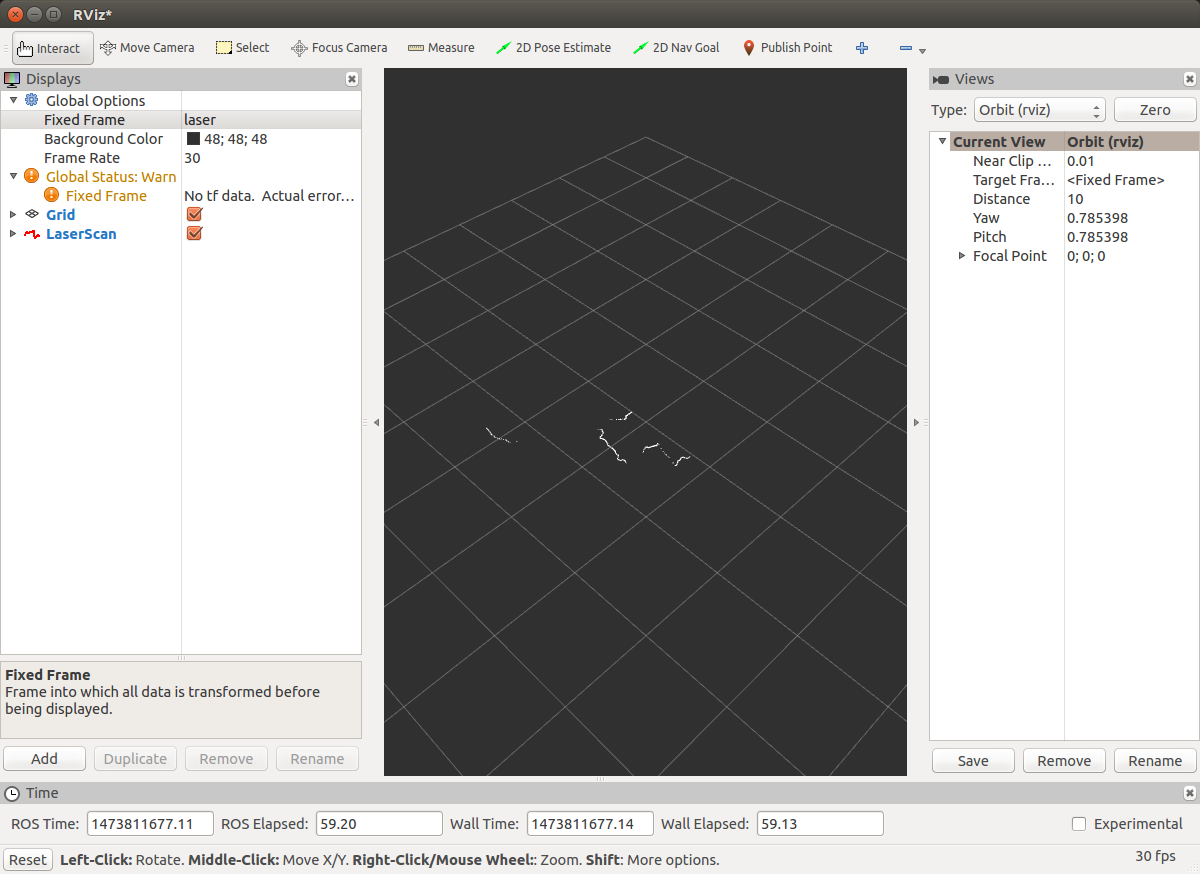
Click add, then select the topic /scan. If you have an error related to tf, you need to manually enter your fixed frame as “/laser” in the textbox next to fixed frame on the left side of the GUI.
The final result should be a line mapping distances from the Hokuyo in a rectangular coordinate system.
Final Thoughts
Possible next steps include:
- Subscribing to the scan data with a node that uses the data for autonomous navigation
- Using a servo to fan the 2D Hokuyo scans to allow for 3D scanning of the environment
- Migrating the ros-indigo-hokuyo-node package to a newer distribution of ROS
For questions, clarifications, etc, Email: [email protected]


