Table of Contents
Viewing Virtual Environments with Oculus Rift
Author: Blake Hament Email: [email protected]
Date: 12/28/16
Keywords: virtual reality, VR, Oculus Rift, 3D, environment, Sketchfab
This tutorial will guide you through the steps necessary to view a virtual environment with the Oculus Rift headset. This tutorial assumes a virtual model of the target environment has already been captured and uploaded to Sketchfab, a free 3D model sharing platform. Future tutorials will cover model capture.
These steps have been adapted from instructions on the Web-VR Github page.
Motivation and Audience
This tutorial should be helpful for anyone interested in viewing 3D models using the Oculus Rift headset. Aspects of the tutorial may apply to other VR systems. Readers of this tutorial likely have the following background and interests:
- Virtual Reality
- Photogrammetry
- Marketing
Even without VR experience, anyone comfortable with installing software and navigating websites should find this tutorial accessible.
The rest of the tutorial is organized as follows:
- Bill of Materials
- Setup
- Final Words
Bill of Materials
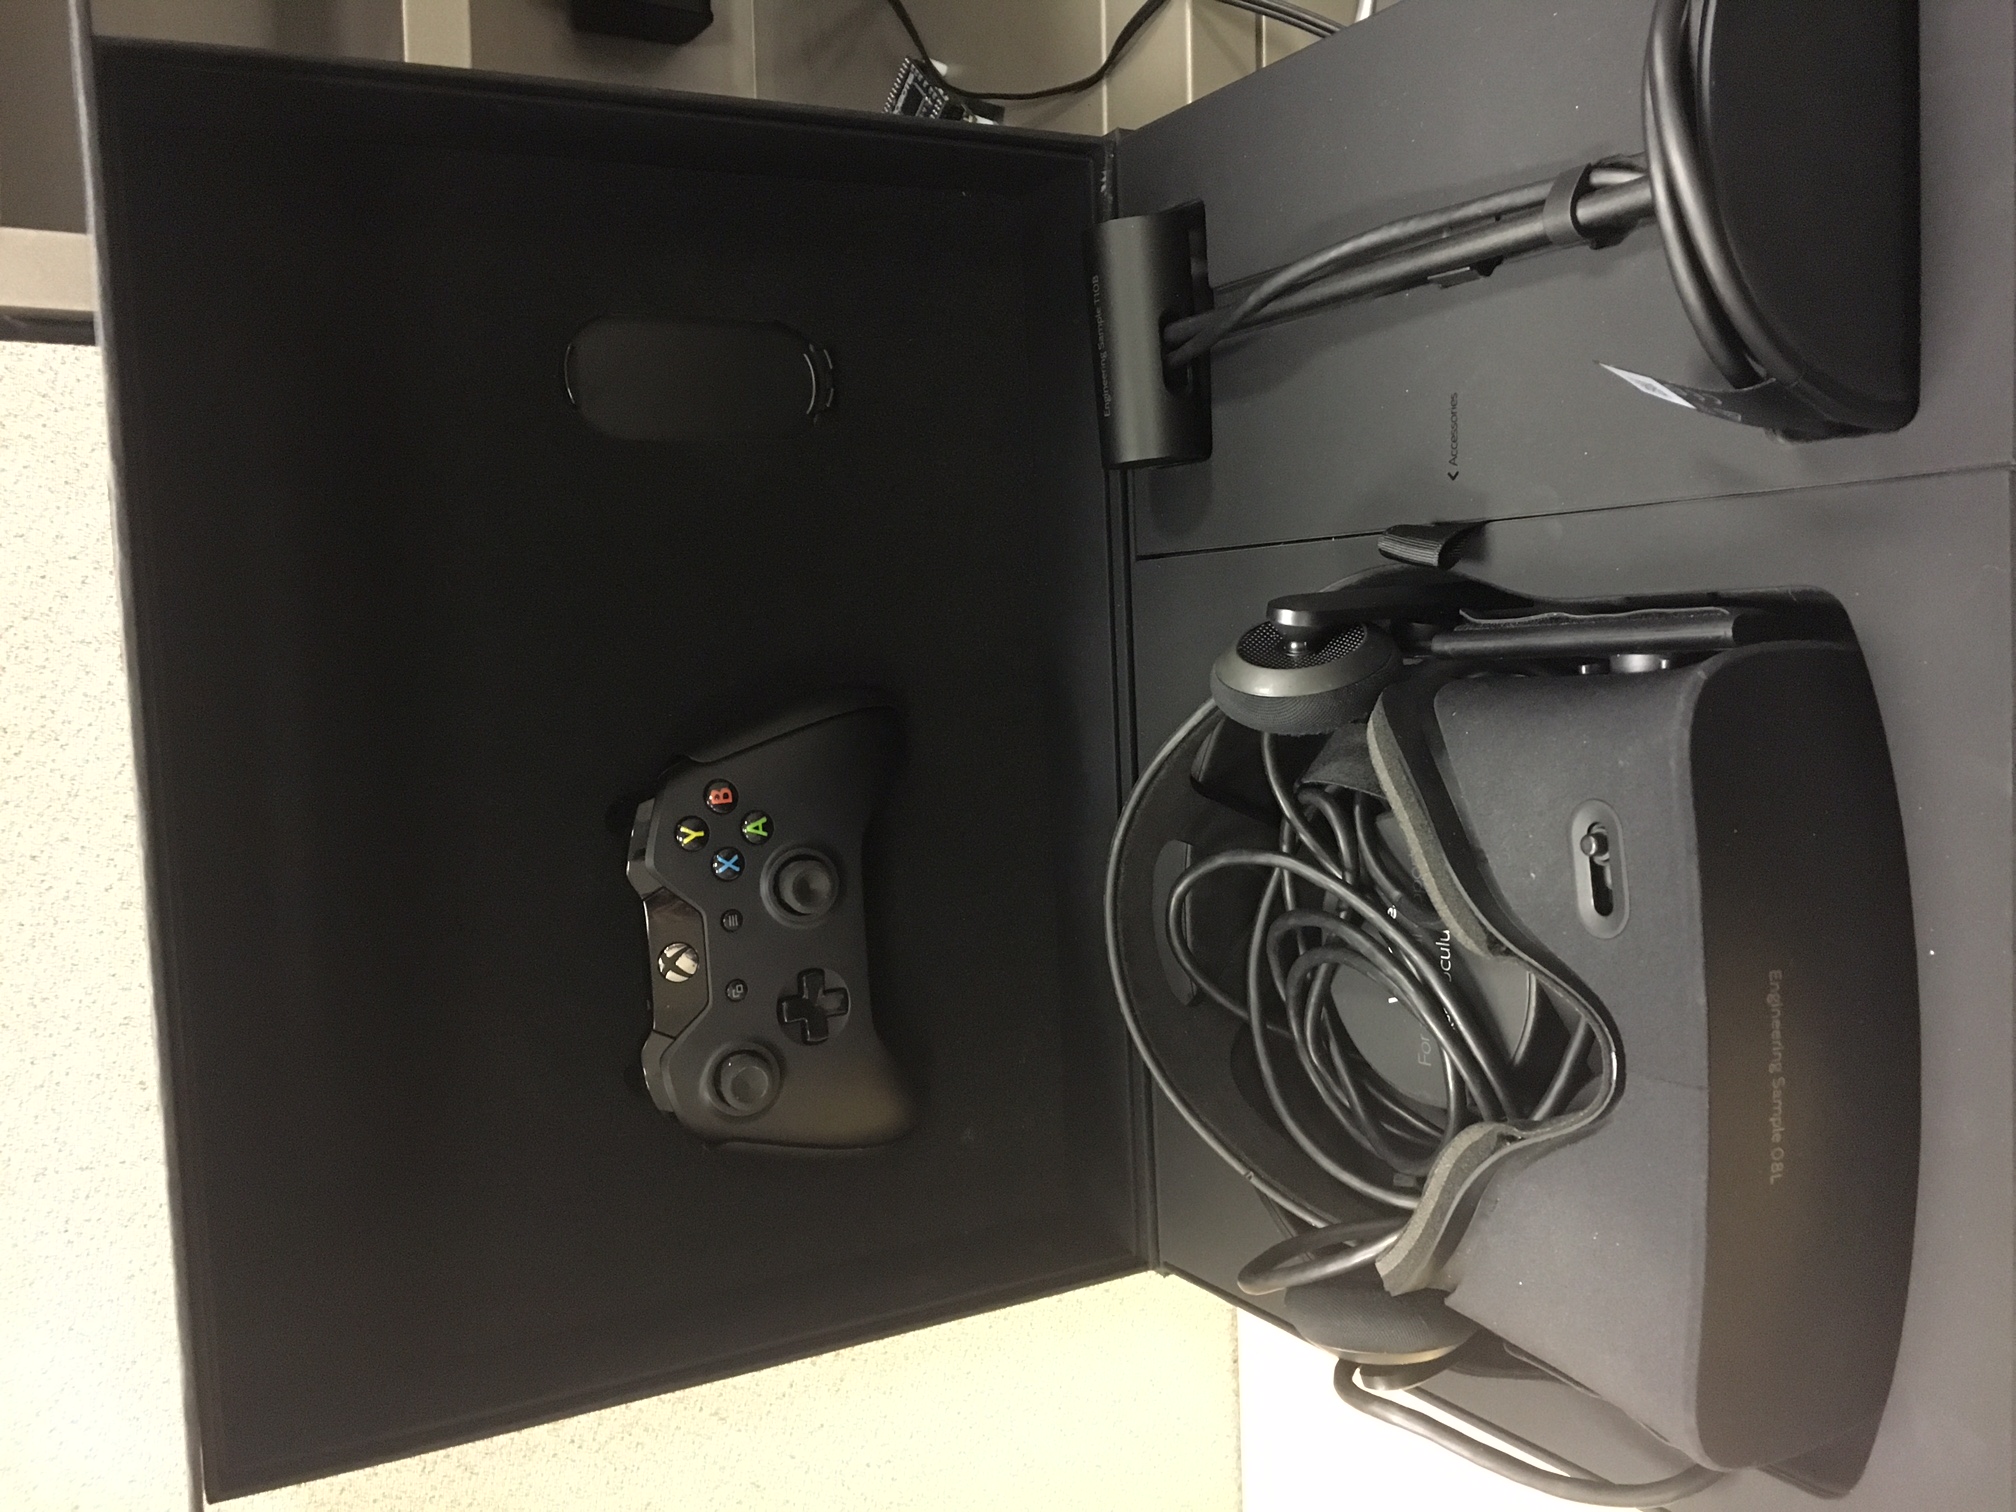
For this tutorial I used the Oculus Rift Engineering Sample 08L headset and Windows 7. A fast processor and video card are a must for VR.
Platform requirements:
- Graphics card: NVIDIA GeForce GTX 970 / AMD Radeon R9 290 or better
- CPU: Intel i5-4590 or better
- Memory: 8GB+ RAM
- Video Ports: HDMI 1.3 video output
- USB ports: three USB 3.0, one USB 2.0
- OS: Windows 7 SP1 or newer
Setup
Step 1: Install and Configure Oculus Home
Go to the oculus website to download the setup tool.
Follow the installer instructions, installation will take about 1.5 GB.
Once Oculus Home is installed, you will need to enable Unknown Sources.
- Open Oculus Home
- Click “Settings” icon located in top-right of screen
- Navigate to “General” tab of “Settings”
- Toggle the box next to “Unknown Sources” to enable
- Confirm the changes by clicking “Allow” if a dialogue box appears
Step 2: Build and Configure Chromium
Download the latest version of Windows Chromium by Brandon Jones. Full build instructions can be found here.
Make sure you have the C++ language tools and the Universal Windows Apps Development> Tools(1.4.1) and Windows 10 SDK (100.14393) for Visual Studio. You can do a custom install or add these using “change” in the uninstall page in control panel.
Next, download the depot_tools bundle from https://www.chromium.org/developers/how-tos/install-depot-tools and extract to a new folder at C:\src\depot_tools.
Make the following changes to your system environment variables:
- Edit PATH to include C:\src\depot_tools
- Add the variable “DEPOT_TOOLS_WIN_TOOLCHAIN” and set the value to “0”
Now open a command shell and run
$ gclient
This first run will install msysgit, python, and other Windows components essential to Web-VR.
In a new command shell
$ mkdir chromium && cd chromium
$ fetch --no-history chromium
$ cd src
“fetch” will create an “src” directory under “chromium”, be patient as it may take a while.
Now it's time to begin building Chromium, make sure you are in \chromium\src.
$ gn gen out/Default
$ ninja -C out/Default chrome
Now run Chromium with
$ out/Default/chrome.exe
In browser URL bar, enter
chrome://flags#enable-webvr
Select “Enabled” next to “Enable WebVR”
Again in the URL bar, type
chrome://flags#enable-gamepad-extensions
Select “Enabled” next to “Enable Gamepad Extensions”
Step 3: View your 3D models on Sketchfab
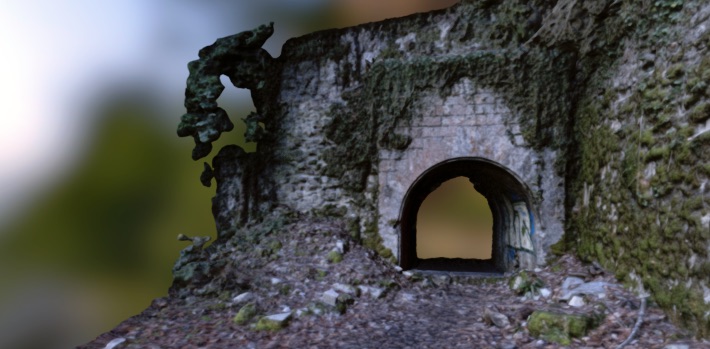
This tutorial assumes you have already captured and generated a 3D model of interest and uploaded it to sketchfab.com. Future tutorials will cover best practices for model capture and mesh generation. If you don't have a model to use yet, follow along to access Bmaker's model of the Tunnel de chaudnne.
Load the Oculus Home application, then open Chromium.
Use the browser to navigate to your model of interest on sketchfab.com, and select the “View in VR” icon that looks like retro 3D glasses.
Enjoy your immersive custom VR experience!
Final Words
This approach can be easily adapted for viewing virtual environments with the HTC Vive or a different operating system. Simply download the appropriate application for your hardware in Step 1, then proceed with the rest of the tutorial. Future tutorials could cover best practices for capturing photogrammetric images, generating mesh models, and mesh editing.


